First Steps with Messaging with the Realtime SDK
Send and receive SMS messages from your own Node.js application.
Installation
First, you need to obtain the Realtime SDK. If you are using npm or yarn, from your terminal you can run the following command:
- npm
- Yarn
- pnpm
npm install @signalwire/realtime-api@~3
yarn add @signalwire/realtime-api@~3
pnpm add @signalwire/realtime-api@~3
Then, you can include the package in JavaScript as follows:
import { Messaging } from "@signalwire/realtime-api";
Obtaining and configuring a number
Log in to your SignalWire Space. From the Phone Numbers section, you can buy a new phone number. You will need at least one number to send and receive messages. After you have acquired a number, open its settings by clicking on "Edit Settings". Scroll down until you reach "Messaging Settings", as shown in the next figure, and configure it to:
- handle messages using a Relay application,
- forward the call to the "office" Relay context
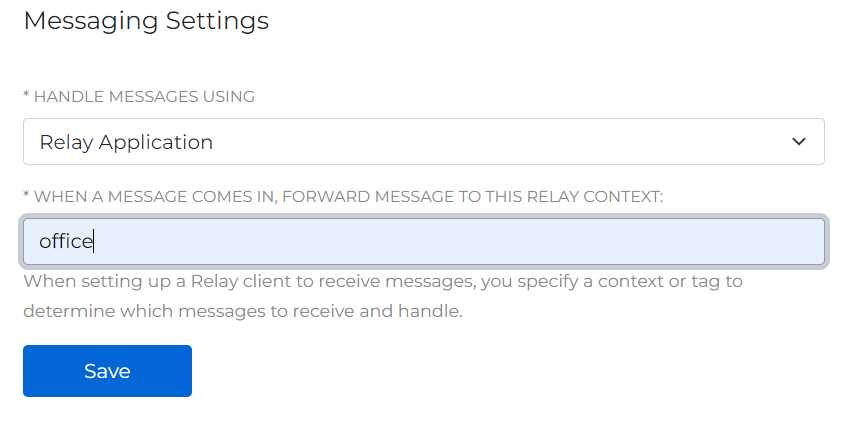
Number configuration setting for handling Messages.
In Relay V3, a context is a named scope that allows you to group resources together. When you configure a phone number to handle messages with a Relay application and specify a context, all messages to that number will be delivered to Relay clients listening on that context.
If you are sending messages to the US from a 10DLC number, you must register your traffic with the Campaign Registry. Otherwise, the carriers will not deliver your messages. Please see our Campaign Registry - Everything You Need To Know guide for more information.
Sending your first message
To send a message from Node.js you need to instantiate a Messaging client, and then call its send method.
import { Messaging } from "@signalwire/realtime-api";

const client = new Messaging.Client({
  project: "your-project-id",
  token: "your-api-token",
  contexts: ["office"],
});

try {
  const status = await client.send({
    context: "office",
    from: "+1xxx", // The number you bought from SignalWire
    to: "+1yyy",
    body: "Hello World!",
  });

  console.log(status);
} catch (e) {
  console.error(e);
}
We used the "office" context in two places:
first, when initializing the Messaging client.
Then, when calling send.
You use the contexts array in the Client constructor to specify the list of contexts you want to listen to for events.
Instead, the context in the send method determines the context to associate to the message.
If the two contexts match, your Client will receive events (message.updated) for this outgoing message too.
You also need to specify a Project ID and API token: find these in the API section of your space, as shown in the following figure. Make sure that your token has the "Messaging" scope enabled.
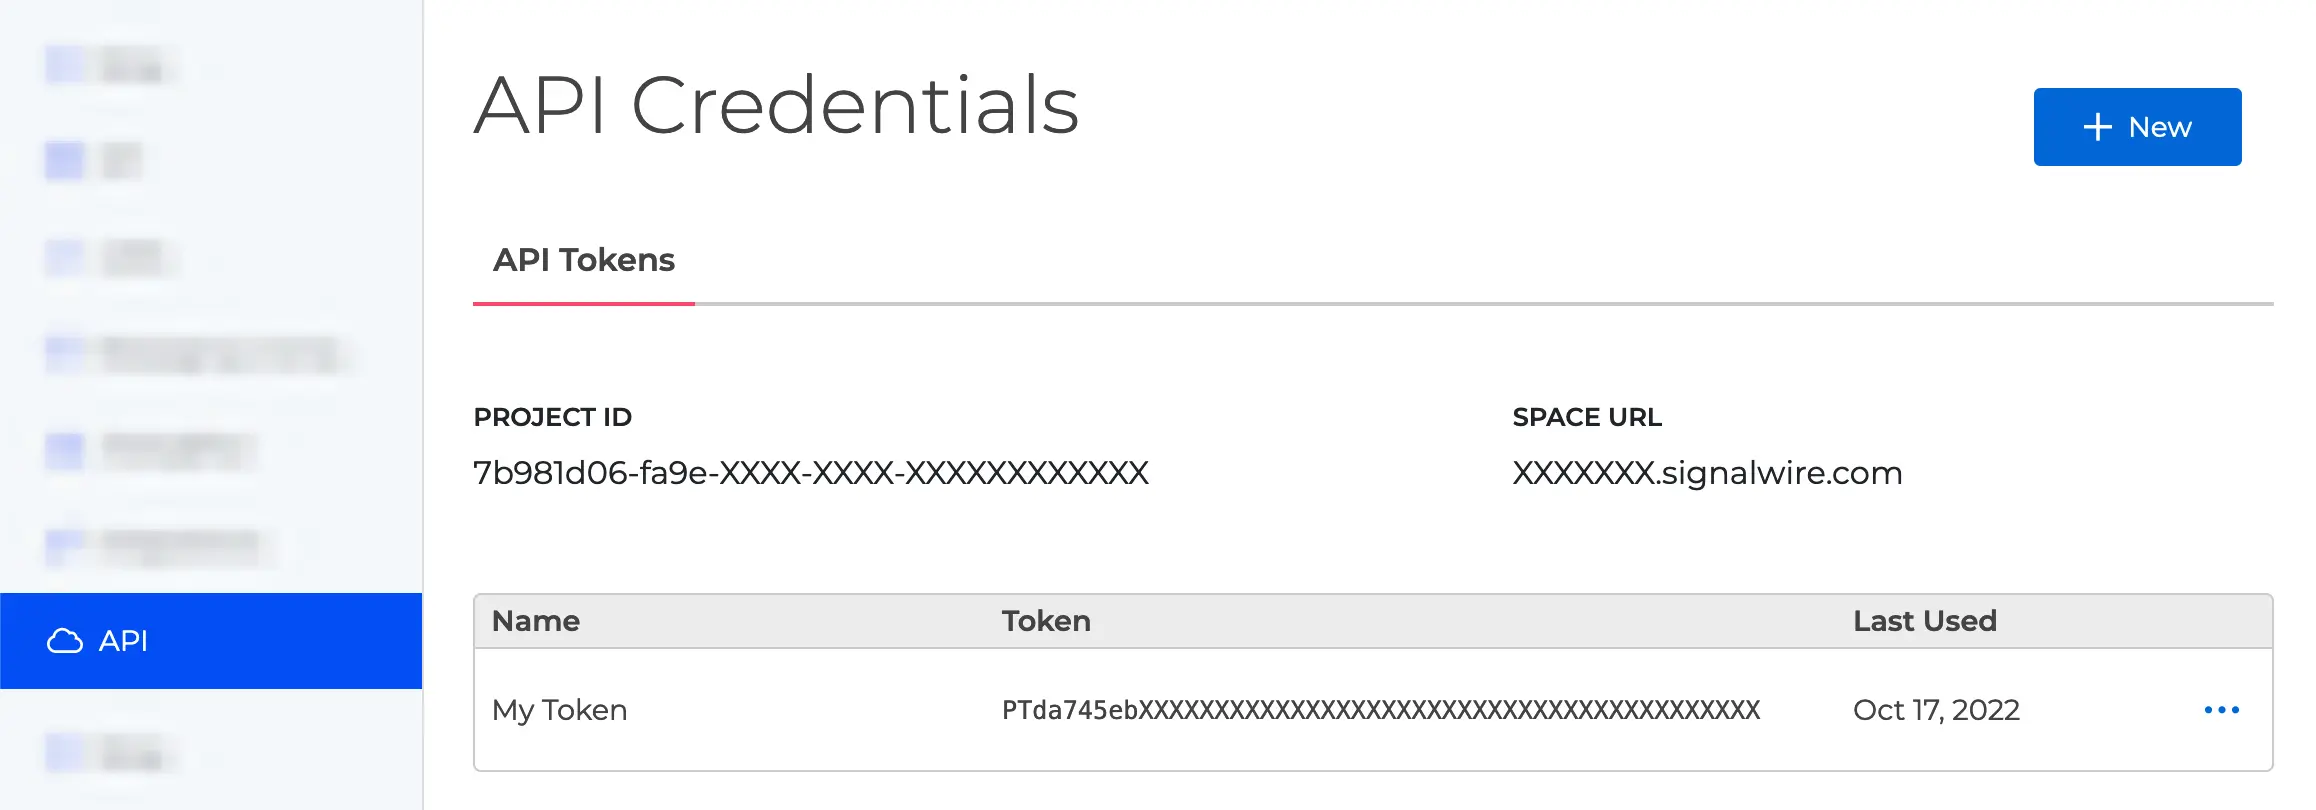
You can find your Project ID and Token from the API tab in your SignalWire Space. Make sure your token has the 'Messaging' scope enabled.
Receiving incoming messages
Once a Client is initialized, you can listen for incoming messages on the selected contexts (in our example, just "office"). For example:
client.on("message.received", (message) => {
  console.log("Message received:", message);
});
Your event handler receives a message object, which you can use to access fields
such as message.body, message.from, message.to, etc.
Next steps
Congratulations! You can now send and receive messages with your Node.js application. You are now ready to explore the advanced guides in the Messaging section from the left menu.